
Purpose
This guide explains the verified first-connection path to the SEMS local web interface.
What is verified from the current product
The current inspected product provides:
- a browser-based local interface;
- authenticated login;
- a network-settings page that exposes current Ethernet and Wi-Fi state;
- setup-wizard steps for site, network, devices and review.
The current login page is protected by local authentication. The inspected auth design uses server-side password hashes and short-lived session tokens.

Before you begin
- the controller is powered;
- your laptop is on the same local network path as the controller;
- you know whether the site intends to use DHCP or static addressing;
- the commissioning account has been prepared for the installation.
Connection workflow
- Connect your laptop to the same local Ethernet network as the SEMS controller.
- If the network uses DHCP, inspect the router or DHCP lease list for the controller address.
- If the network is isolated, use your approved site method to discover the SEMS IP address.
- Open a browser and connect to the SEMS web interface on the discovered board address.
- Log in with the approved commissioning credentials.
No universal factory-default IP address or publishable default password was approved for public documentation in the current source set. Do not guess them in the field. Use the site network plan, the active DHCP lease table or an approved unit-specific commissioning source.
What you should see
After a successful connection and login, the current software exposes:
- a main dashboard
- settings pages including network settings
- a setup wizard entry point
- device management pages
Validating the active address
Once logged in:
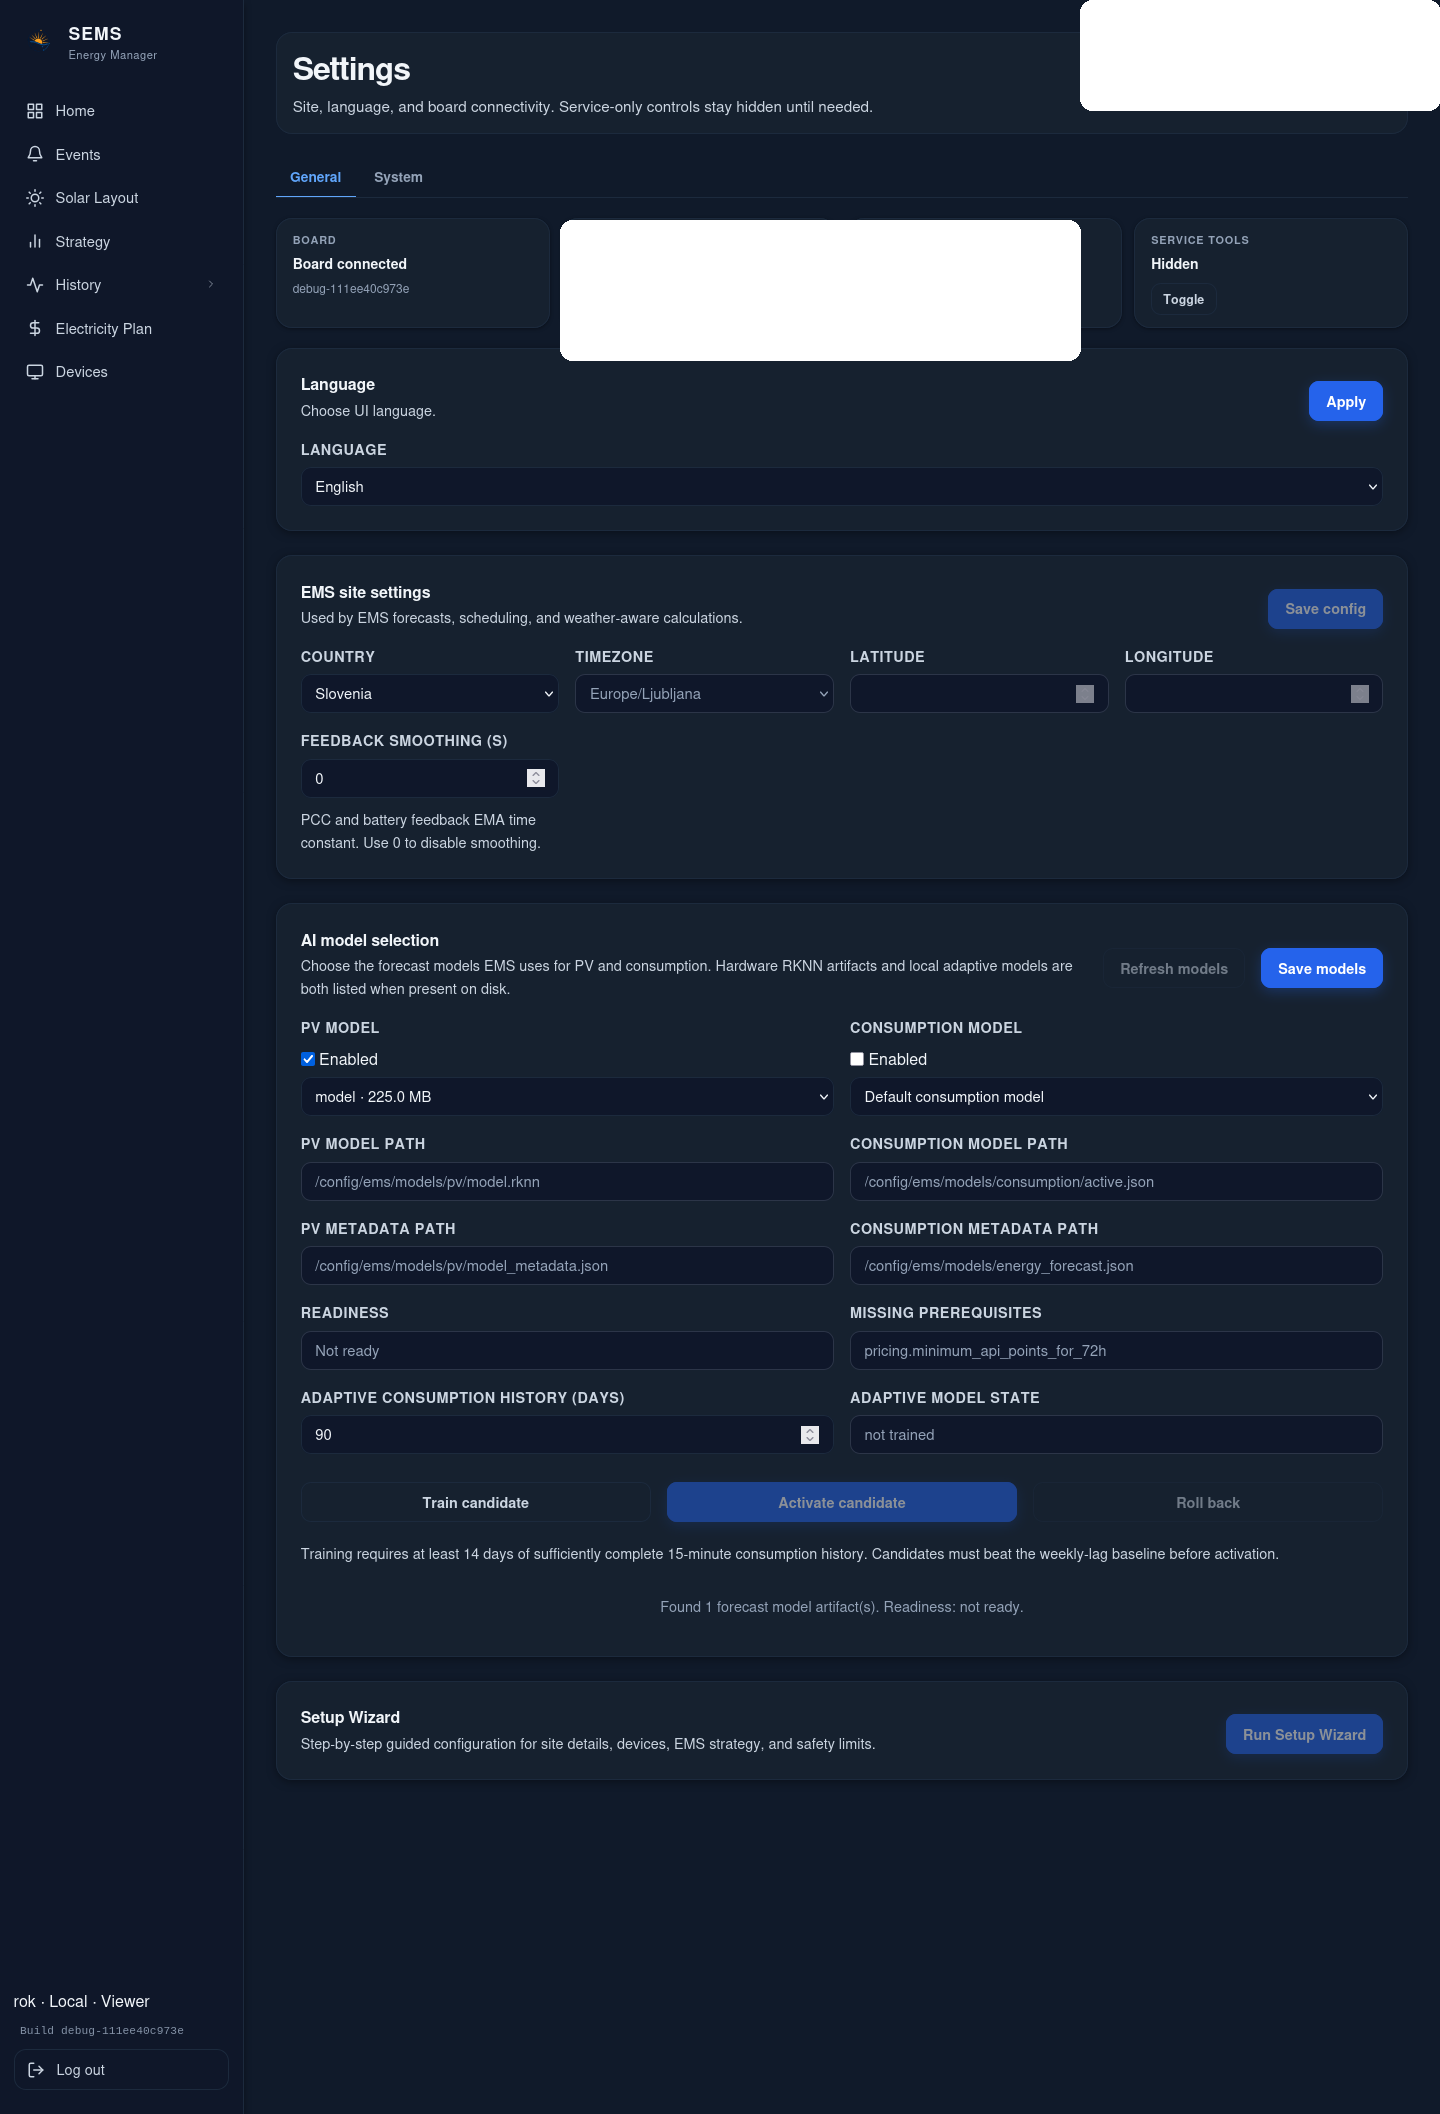
- Open Settings.
- Go to the Network section.
- Review the current
eth0state, current IPv4 address, gateway and DNS. - If the project requires static addressing, apply the approved static parameters through the network settings workflow.
Login and authentication notes
The current inspected product supports role-based access. Public documentation may confirm that:
- viewer, operator, admin and system-admin style roles exist in the current auth model;
- alarm acknowledgement and notification management are permission-controlled;
- login creates an authenticated browser session.
This article intentionally does not publish sensitive credential policy or secret material.
Troubleshooting first connection
Controller does not receive DHCP
- confirm the Ethernet link physically comes up;
- confirm the network path actually provides DHCP;
- confirm you are connected to the correct board interface for the installed unit;
- if the site requires static addressing, use the approved static plan instead.
Browser cannot connect
- confirm your laptop is in the correct subnet;
- confirm the controller IP address is correct;
- confirm there is no duplicate IP conflict on the network;
- check whether the site router blocks local client-to-client access;
- retry from the same local switch segment where the controller is installed.
IP address is unknown
- inspect router DHCP leases;
- inspect switch port notes or installation labels;
- reconnect directly to the approved commissioning network if the site topology allows it.
Related articles
Was this helpful?
Did this article answer your question?
Feedback saved on this device. If you still need help, contact CyberSun support.